Flutter + AWS Amplify — Part 1: Datastore

INTRO
Having developed Mobile Apps on Flutter with GCP, for over 2 years now, I was a little intrigued to read about Amazon launching AWS Amplify’s support for Flutter.
While I have given a go at AWS and AZURE’s free trials in the past, I have always found them a little heavy for my taste. For instance, I’d prefer not knowing how many EC2s and S3s I need for my app or if and when I should be using RDS or DynamoDB. To me, it should be a matter of click and go. Google’s Firebase offering gave me that option with its Firebase FireStore, Firebase Authentication, Functions, Analytics, ML, Notifications, etc. I never needed to know what was happening under the hood. All I wanted was to be able to integrate my app with the cloud and I was able to achieve that easily.
When I glanced thru Amplify’s Admin UI, I really liked what I saw - Amazon’s answer to Google’s Firebase.
What I’ve found so far is that there is a learning curve involved, as is the case with any of the other offerings, but with the kind of integration provided by AWS Amplify’s CLI and Admin UI, the going gets very easy — very fast.

Similar to Google Firebase, AWS Amplify let’s you design fullstack applications with a variety of offerings such as Datastore, Authentication, Storage, Functions, ML, Chatbots, Analytics, Notifications and Hosting, among others.
As part of this article, I will try to share my experience and the learning I gathered thru my journey exploring AWS Amplify.
As the trend goes, I started off with a To-do App as well. Apparently it is the current version of the ‘Hello Word’ of the internet age!
DATASTORE
We will start-off by achieving data CRUD operations first, using the Datastore, for our To-do app and then in later parts explore the other features of AWS Amplify.
There is a slight variation with the way data designing and storing is done when it comes to Datastore vis-à-vis FireStore.
DataStore revolves around the idea that your data is first stored locally and then synced with the cloud. This will be very helpful when designing for critical apps which may need an offline mode or when there is a network or Wi-Fi problem.
For this purpose, I suppose, the official documentation takes you thru the offline data modelling first using the CLI, connecting it with the app and later setting it up to sync up with the cloud.
While I am OK with this method, I went ahead using the Admin UI instead, ignoring the offline setup. Both methods work, by the way.
If you plan to follow along and give it a go, I would recommend installing Amplify CLI first by following the instructions from here and also setting the
minSdkVersionfor your app to 21 in the build.gradle file.
Once done, let’s go and build our app …
STEP 1: GETTING THE APP READY:
The To-Do app I designed is a very simple one, code for which is available in the git repo — link at the end of this article.
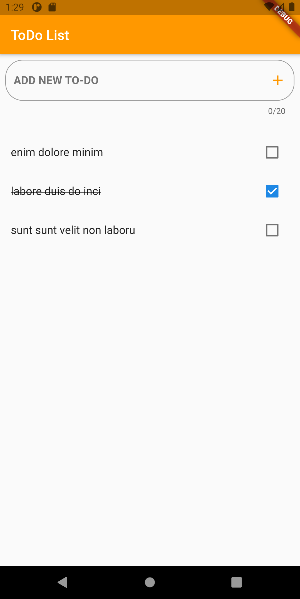
But at a very high level, it is a single page app, with a textbox and add button at the top, for adding new To-dos, followed by a ListView to display the already added To-dos with checkboxes to indicate the status of each item — completed or not. Also, if completed, the title will have a line thru it, as shown below:

That’s it, a very simple app, but with no backend yet. So, let’s go and create one …
STEP 2: SETTING UP THE BACKEND
You will need an AWS account for this. So, please go ahead and register for the free tier.
Logon to the AWS Management Console (as root user) and launch AWS Amplify from the ‘Services’ dropdown or simply do like I do — enter ‘Amplify’ in the search box at the top and click ‘AWS Amplify’ from the result. It should launch a page like below.
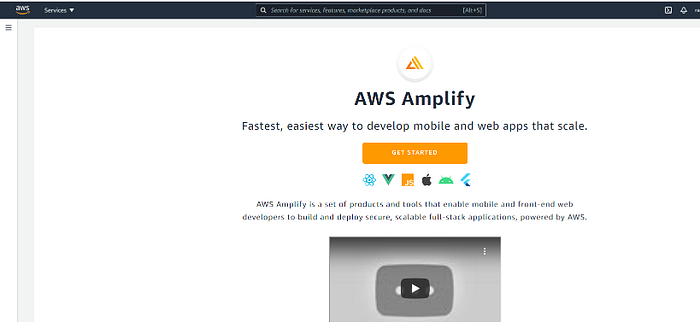
Click ‘Get Started’ and click ‘Get Started’ again under ‘Create an app backend’.

This should take us to the app creation process. Enter the desired app name, and click ‘Confirm deployment’.
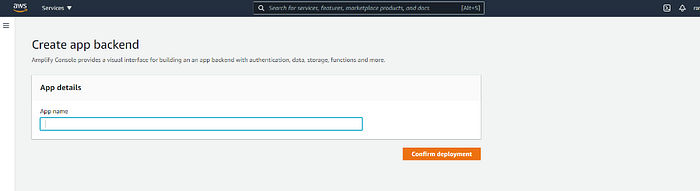
It should take sometime, but once the minions are done setting up the backend environment, it should launch the Amplify Console.

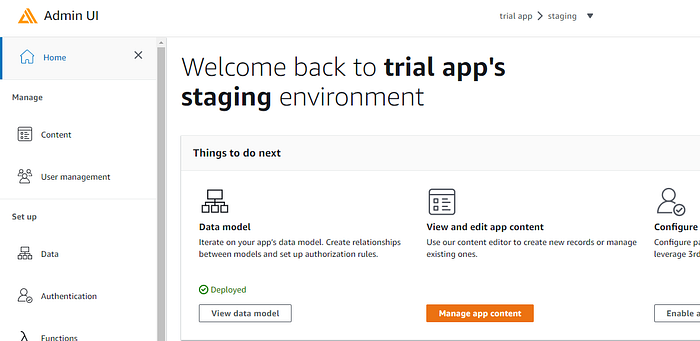
Click ‘Open admin UI’.

This is where we manage and control all aspects of our app backend. You may explore all the features available here. Most have a 2 line description explaining what’s what.
Let’s move on and start setting up our database…
Click on ‘Create data model’ and ‘Add model’

Lets give the model a name and add fields like below:
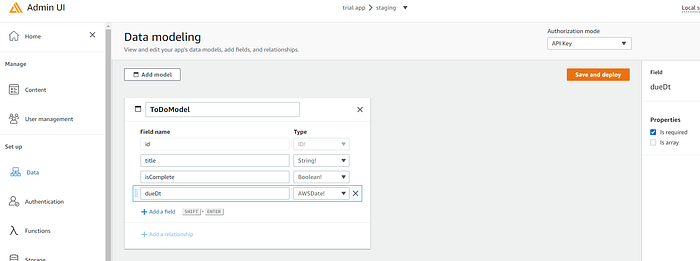
Don’t forget to mark the mandatory fields on the right. (I added dueDt field, for experimentation purpose. You can ignore this, if you like).
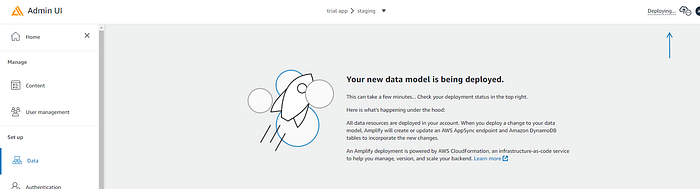
Click ‘Save and deploy’, once ready. Deployment will take a while. The status at the right top corner of the screen will indicate what’s happening.
STEP 3: THE MARRIAGE
Once deployment is complete, the status on the right top corner will indicate what’s next — time for the backend to meet frontend.
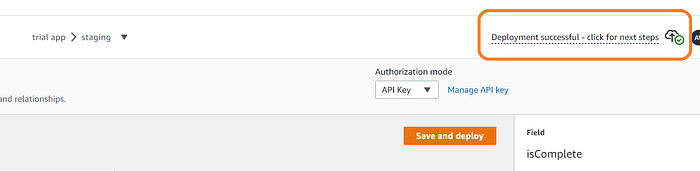
Click on ‘… next steps’ and copy the CLI command from the resulting popup
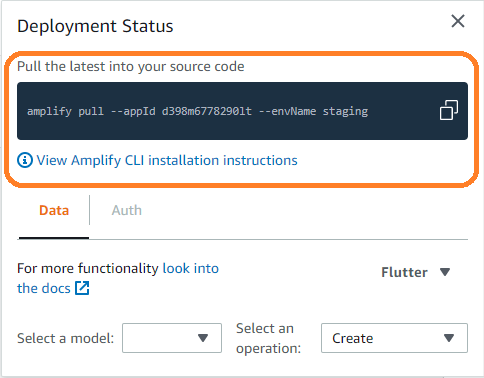
Notice that this popup also helps us with our queries, making life a that much easier …
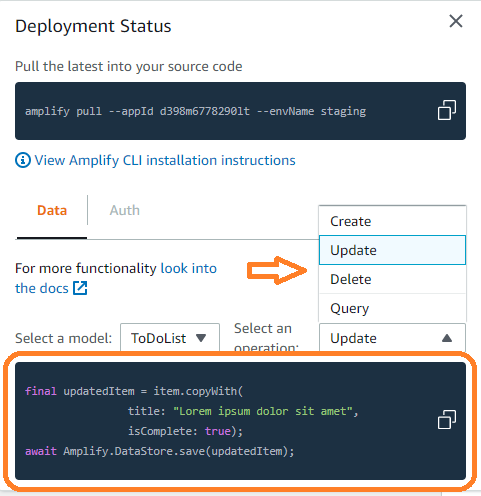
But that’s for later. Let’s first connect our app with the AWS Datastore.
On the code editor — I use VS Code — access the Terminal and in the project folder, execute the code copied from the Admin UI
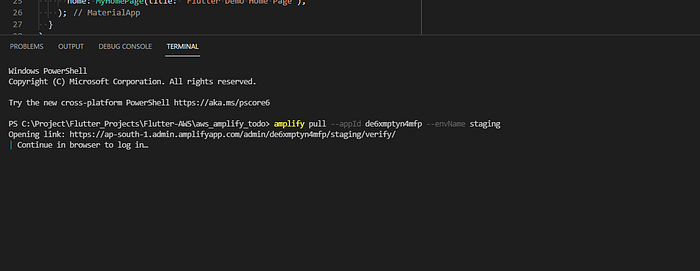
If we are not already logged in to AWS, we’ll be asked to do so now. Else just click YES, on the browser. Then return back to the console and truthfully answer all the questions. When unsure just hit ‘Enter’ to select the default value. For the last question, I selected Yes.
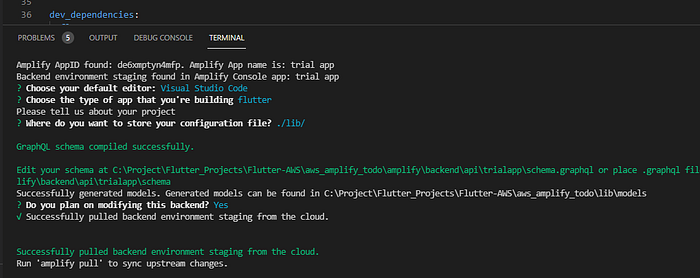
That’s it, the Amplify CLI connected your app with its backend on the cloud.
At this point, I went back to the Admin UI and deleted the field ‘dueDt’ from the data model. Then did a
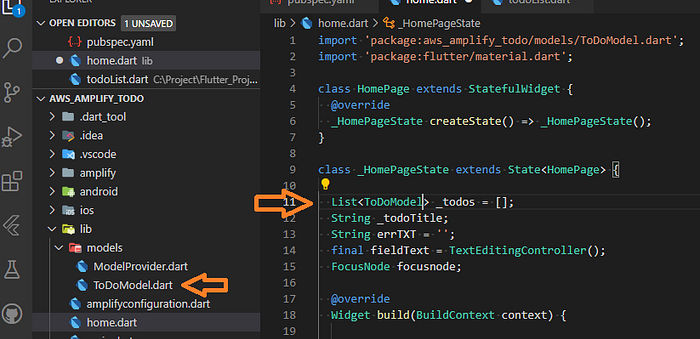
amplify pullagain from the VSCode terminal. The field was successfully removed from the ‘ToDoModel.dart’ file as well.
If you find the ‘models’ folder in RED, that’s because we are yet to add some dependencies to the ‘pubspec.yaml’ file.
Let’s go ahead and add those dependencies …
In the pubspec.yaml file, add the following packages:
amplify_flutter:amplify_datastore:amplify_api:
And save the file. This should import all the necessary dependencies and resolve any errors with the ‘models’ folder.
Next step is to initialize AWS Amplify in your app and prepare your queries, before performing CRUD operation on the Datastore. So, let’s get on with it …
STEP 4: Configuration:
Open the ‘.dart’ file which displays all the To-dos and also adds new To-dos. It could be the ‘main.dart’ file or a separate file. In my case, I separated this piece from the ‘main.dart’ file and called the new file — ‘home.dart’, the code for which looks like below:
The official documentation splits the initialization into smaller blocks and I followed the same as it seemed easy to understand.
To start with, lets change the declaration of the List _todos at the top of the file to include the data model, like below:
Next, update the initState() piece, to look like:
And create _initializeApp()below dispose(), like below:
_configureAmplify() is where the Amplify plugins are called and _fetchTodos() is where we query the Datastore to fetch all data. So, lets first configure the plugins by adding, below _initializeApp() :
And yes, please resolve any RED swiggly lines by importing the relevant libraries. You can refer the file from the git repo below if in doubt.
Now, before completing the _fetchTodos() piece, lets create a new ‘DB.dart’ file and add the below code to add the CRUD queries.
Now, lets go back and finish the _fetchTodos() in the ‘home.dart’ using the query created under DBServices(), like so:
The app should work fine in its current form. But first lets add some dummy data.
Go back to the AWS Amplify Admin UI, click ‘Home’ from the left navigation menu and select ‘Manage app content’.
On the new screen, click ‘Auto-generate seed data’ and add 3 new rows.

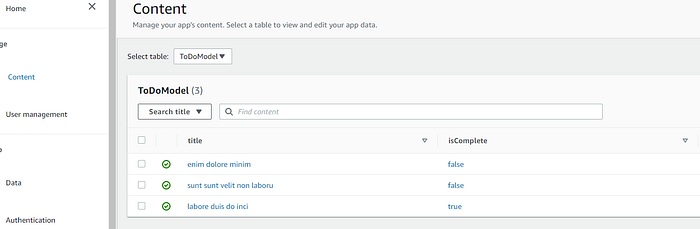
Now, go back to your editor and launch your app on the emulator. If like me, you also did not see data flow in on app launch, do a hot restart and that’ll resolve the issue.
This proves that the app is connected and working with its backend. What’s left is the relevant code for adding new To-dos and updating the To-do item status. A major part of this code is already completed in the ‘DB.dart’ file. All we need to do is to update the saveTodo() piece and the onChanged() event of the checkbox of the ListTile() in the ‘home.dart’ file, like below:
That’s it! We’ve successfully added a Datastore backend to our simple To-do Flutter app. However, there’s just one more feature that’s missing and that’s real-time update. Any create or update request is not synced from the app to Cloud or vice-versa in realtime. You will have to reload the app to see the changes happen, and its quite frustrating.
This can be easily achieved by using a subscription.
At the top of HomePageState class, let’s declare a new subscription ( dart:async package required):
StreamSubscription _subscription;Add the below code inside initializeApp():
_subscription = Amplify.DataStore.observe(ToDoList.classType).listen((event) { _fetchTodos();});And finally, inside dispose():
_subscription.cancel();That’s it. For real this time!
Our app is ready. All our updates will be realtime to and from the app and Datastore.
Git Repo:
Code for the To-do app used in this article is available here.
Hope you liked this article. Any feedback or questions is always welcome. If you find any mistakes, do let me know. Thanks for reading!!
